27th July 2017
We began the day with a brief introduction into the types of printing processes we are likely to encounter.
Conventional printing has four types of process:
- Plano-graphics, in which the printing and non-printing areas are on the same plane surface and the difference between them is maintained chemically or by physical properties, the examples are: offset lithography, collotype, and screenless printing.
- Relief, in which the printing areas are on a plane surface and the non printing areas are below the surface, examples: flexography and letterpress.
- Intaglio, in which the non-printing areas are on a plane surface and the printing area are etched or engraved below the surface, examples: steel die engraving, gravure
- Porous, in which the printing areas are on fine mesh screens through which ink can penetrate, and the non-printing areas are a stencil over the screen to block the flow of ink in those areas, examples: screen printing, stencil duplicator.
Four parts of the printing process to remember:
- Origination
- Method of Transfer
- Substrate, Paper
- Printing Ink
See here for useful jargon: http://www.themaxdp.co.uk/design-print-web/jargon-buster-print.html
This was followed with a discussion about the importance of using a registration system when printing followed by a practice at setting up a basic registration system to be used with some screen printing later in the day.
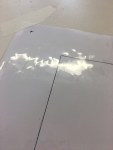
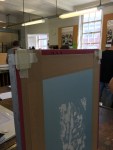
We created a template using cellophane for the size of paper that we we going to use by drawing an outline in the centre for the size of the print. After creating an acetate with our image, we then placed a cross in one corner of the template and one corner of the acetate with the printed image.

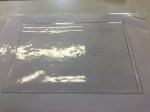
After transferring the image to our screens using the light box, we then began to set the registration up on the screen bed ready for printing.
First, we added some corner supports to the screen to make an even snap – this is used to control the contact of the screen with the substrate – this helps you to keep your screen prints crisp and sharp.

We then used the template we had created earlier with the acetate to line up the image on the screen with the image on the acetate.


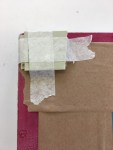
Once everything was lined up we created registration tabs and placed them along one long side and one short side of the cellophane template – these were there to line our paper up with once we started printing.

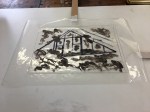
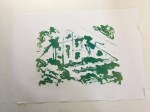
Once we had set up our registration system on our screen beds we then made some screen prints using the screen bed and the registration system we had created.
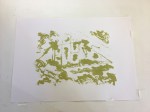
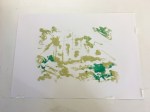
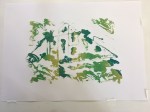

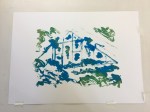
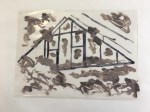
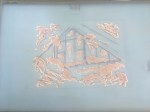
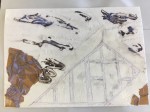
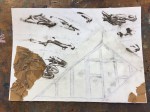
For the latter part of the day we created a collagraph to be used with the planned viscosity printing.
In collagraphy, a variety of materials are applied to a rigid underlying layer (such as ragboard or masonite). The word is derived from the Greek word koll or kolla, meaning glue and graph, or the act of drawing. I begin by making collages of cardboard, pasted paper and other textures. I can ink the resulting plate as an intaglio, or with a roller or paintbrush, or some combination of these. The resulting print is termed a collagraph. Substances such as acrylic texture mediums, sandpapers, cloth, string, or cut cardboard can all be used in creating the plate. Collagraphy is a very open printmaking method. Ink can be applied to the upper surfaces of the plate with a brayer for a relief print, or ink can be applied to the entire board and then removed from the upper surfaces, leaving it in the lower spaces, resulting in an intaglio print.
http://www.marthahayden.com/viscosityprintingandcollography.html

One thought on “ Combination Printing with Greg Fuller ”